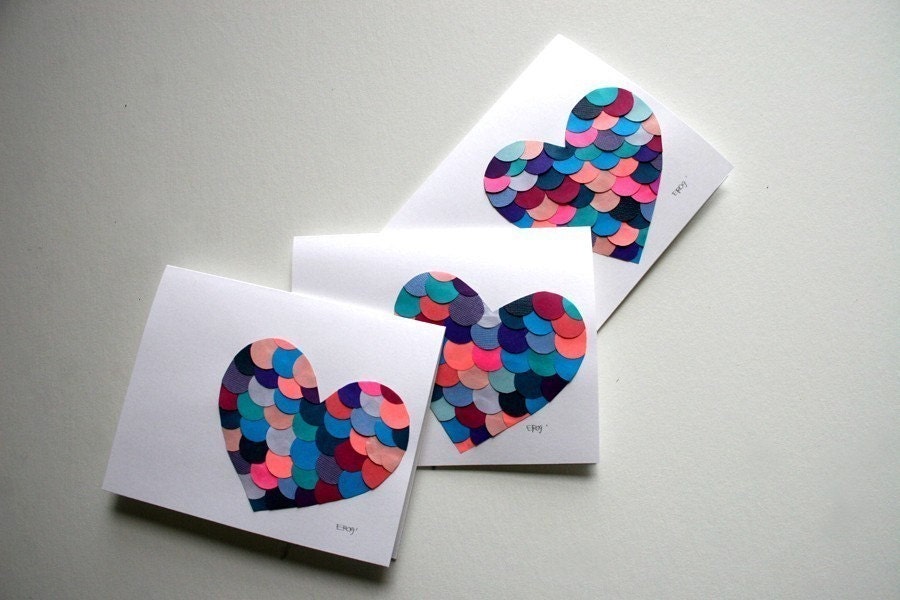
(Some of the prettiest Valentines I ever did see, via etsy)
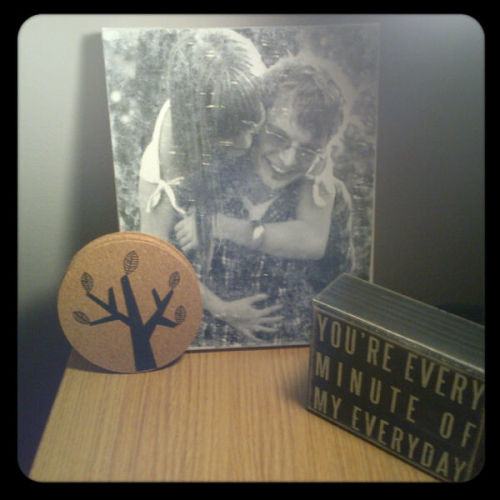
So today's tutorial is how to transfer a photo to canvas, which is super easy, but also very easy to mess up. Jared and I absolutely LOVED all of our engagement photos (taken by Kaptivating Kreations, by the way - she's fantastic), but there was one where we both just stopped rifling through the proofs and looked at each other at the same time - so beautiful! We loved it so much that we decided to get it blown up and transfer it to canvas. It turned out perfectly: it has a really nice rustic, vintage-y look that I'm a huge fan of! Here it is:
For this project, you will need the following:
*Gel medium (we used this kind)
*A medium-sized paintbrush
*A spray bottle full of water
*A canvas of whatever size (we used a pretty small one)
*A photo blown up to the size of your canvas and printed out on just regular printer paper
So what you'll want to do is paint your canvas with a thick layer of your gel medium. Once it's completely covered and fairly evenly spread, place your photo (on the printer paper) facedown onto the gel-covered canvas. Keep in mind that your photo will be backwards!* Press gently on the back of the paper so it's smooth on the canvas and there are no air bubbles.
Some suggest letting your canvas and photo dry for a few hours, but when I tried this, it didn't turn out quite as well as it did when I let it dry overnight. So I would try letting it dry overnight at least. Once it is dry, grab your spray bottle! Spritz the papered canvas thoroughly with your water without going overboard, and now comes the fun part: Rub the back of the paper (GENTLY) with your fingers to peel off the back layer of the photo - be careful doing this, because if you peel off too many layers, you'll peel right through to the white canvas! This is kind of messy, but strangely addictive, like peeling off a sunburn. Once you've peeled the paper so it's to your liking, spritz the paper again if it has dried (you want to be able to see the picture fully on the other side before you paint over it again). Then do another thin layer of gel medium and let dry.
Voila! You put your photo on canvas! Practice makes perfect with this project, and don't worry if it's not perfect: it's not supposed to be! Mine has tiny chips and nicks in it, and the edges of the photo look almost burned away...but I think it looks prettier that way :)
*Funny story about this: I am obsessed with my "For Like Ever" poster, originally seen here.

I thought it would be so cool to transfer this to canvas after my success with the engagement photo piece. I was so excited about it! Jared and I had just started the peeling-off stage, and I had just started peeling off a huge chunk of paper with glee when he stopped and stared at me. "Oh my God, Chelsea. Won't this be...backwards?" I looked down at my canvas, the words, blurred with water, reading "ROF EKIL REVE." Ugh. Lord. This is so me.
xoxochelsea
No comments:
Post a Comment